Monday, April 29, 2013

Retro Chic Glitter Cat Eye Makeup Tutorial

I was in a very interesting mood this afternoon. Different than my previous mood that I had in the morning with a deep desire to sit around watching Star Wars and looking like Queen Amidala. Nevertheless - I was in a particularly retro(ish) yet very modern Lana Del Rey mood, so I teased the crown of my hair and created this glittery twist on the classic cat eye makeup.

Step 1.

Prime your entire eye lid with eye shadow primer. 


Step 2.

Using a flesh tone eye color, cover your entire eye lid in eye shadow. 


Step 3. 

Using a white eye color, highlight your brow bone by applying eye shadow directly under your eyebrow. 


Step 4. 


I'll be using two different eyeliner colors. Both black and white. 


By taking your black eyeliner, make a thin line on your upper lash line


Then flick the eyeliner line upward slightly, creating the retro "cat eye" look"


Step 5. 

Using a liquid eyeliner, recreate the eyeliner outline. 


Step 6. 

Now use the white eyeliner to create a guide. You will need to put this eyeliner directly above the black eyeliner. 


Step 7. 

Using an eyeliner makeup brush, gently put a glittery gel eye shadow or
glitter eye line over the white eyeliner. 


Step 8. 

Finish with two coats of mascara on your upper lashes. 


Hope you enjoyed this tutorial! This is what I ended up looking like... 


Queen Amidala Makeup Tutorial and Monday's Manicure

Since painting my nails the Cloud 9 color, I decided to go with a George theme this week. (Heather would be so proud.) So the next color had to be purple. I settled on a nice, dark color by Sinful Colors called Amythest. 


It's a really nice color. I'm always very pleased with the Sinful Colors brand.

The second point is that Sunday Night I acquired a bit of Halloween makeup from a lady that goes to our church. She was having a yard sale and gave it to us free. So -- I decided to work a little magic. :) 

And what better way to spend your morning than attempting to do Queen Amidala makeup?

So I've decided to make a simple little tutorial for ya. 

Step 1.

Take some white face makeup and start to apply it to your entire face and lips. 


Step 2. 

Using a bright red lip gloss/lipstick/etc. start to apply it on your upper lip. DO NOT APPLY IT TO THE BOTTOM LIP!


Then apply a thick line of red color in the center of your lip of your bottom lip.


Then apply two small dots on  both of your cheeks with the same red. 


Step 3.

Finish the look with eyeliner (on your bottom waterline) and mascara.


DON'T BE AFRAID TO BE CREATIVE WITH THIS LOOK!


Anyways -- I had *quite* an interesting morning! 


Video of the Week: Interstellar Overdrive by Pink Floyd, Live 1968 in Rome


Unfortunately, it wouldn't let me post the version I wanted. 


This is a performance by Pink Floyd. The song is Interstellar Overdrive from my favorite (and their first) album The Piper of the Gates of Dawn. David Gilmour has just recently joined the band and the best thing about this video is Rick Wright's sparkly top.

I hope you enjoy this video. I will post another video next Tuesday. 

Sunday, April 28, 2013

CoverGirl Smoky Shadow Blast Tutorial & Review

A couple of weeks ago, a friend of mine gave me a CoverGirl Smoky Shadow Blast stick in Purple Plume. The main shade is a bubblegum pink, the second, a purpely chocolate. At first, I was a little skeptical. I've never been a fan of cream eye shadows. Yes, they blend easy and are easy to put on, but they also smear and fade away quite easily. I've noticed that if you cover the cream with a similar pressed or loose eye shadow, it tends to last longer.

I'd been wanting to use it since I recently saw a CoverGirl advertisement on the product and remembered I had some.

Here is a simple TUTORIAL for a smoky eye using the CoverGirl Smoky Shadow Blast. 

Step 1.

Prime your eyes with an eye shadow primer. I like using E.L.F, but you can use whatever you'd like.


Step 2.

Cover your entire lid with a white eye shadow.


(I'm not sure what brand the eye shadow palette is. Use whatever white eye shadow you have.) 


Step 3.

Cover your eye lid with the bubblegum pink (STEP 1) side of the CoverGirl stick.


Step 4.

Draw a thick(ish) 'V' shape on the corner of your eyelid using the brown (STEP 2) shade.


Step 5.

Blend the corners and the lid shade together.


Step 6. (OPTIONAL)

If you blended too far over, like I did, you may add more pink to the inner corners of your eyes.


Your eyes will look something like this. (Below)


Step 8.

Finish with whatever mascara and eyeliner you'd like. 


Extra: I added more white eye shadow near my brow bone as a highlighter. You may do the same, or leave it the way it is. Either way, it's a nice, simple look. 

REVIEW

This was a very easy product to use. It was creamy and blendable like most cream eye shadows and doesn't smear as easily as I thought it would. It doesn't feel greasy after long wear, also. 

Although this was a nice product, I don't think I'll use it very often. 

But besides that, it's definitely a great product. 

On a Scale of 1 to 10: 8


Purchasing Information

You can purchase this at most drugstores and large shopping centers such as Wal-Mart or Target, but you can also buy it online here


Sunday's Manicure and The Madcap

It's been a rather dreary morning. Fifty-three degrees and rainy. Did I mention windy? Most of the time, I greet colder weather with open arms. Personally, I love bad weather. If the bad is usually cold. Perfect staying in and doing nothing weather. But anyways, besides the point, last night, upon chatting with my friend Heather, I was looking through all my nail polish and came upon a rather bright orange by Sinful Colors called Cloud 9.

(I started to paint my nails this color because my friend and I both adore The Beatles. During George Harrison's solo career, he entitled an album and wrote a song called "Cloud Nine", So it reminded us of that.)


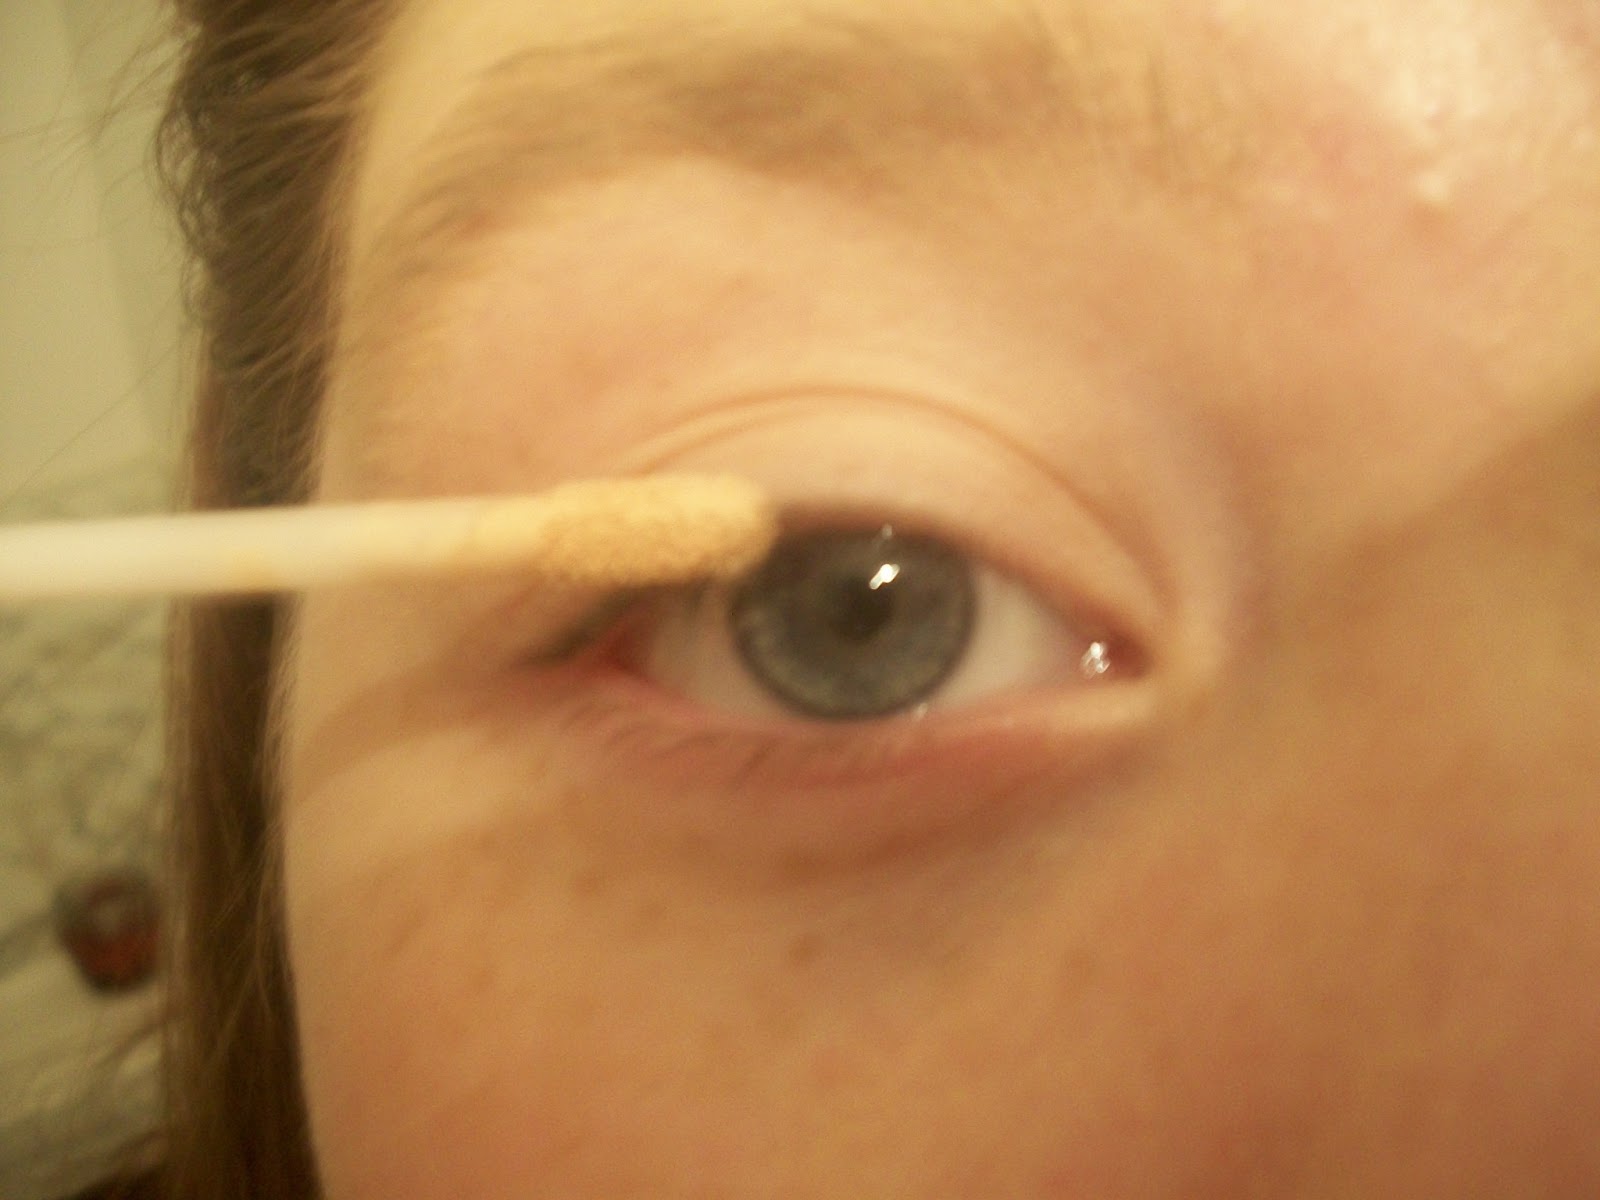
After a good two coats, it showed up the exact shade on the bottle. I'm not really sure what I was thinking, but being the rebel I am, I added multiple colors on my thumb nail. Mint Sorbet by Sally Hansen, 


And a platinum color, which I'm not really sure where I got, but liked the color. 


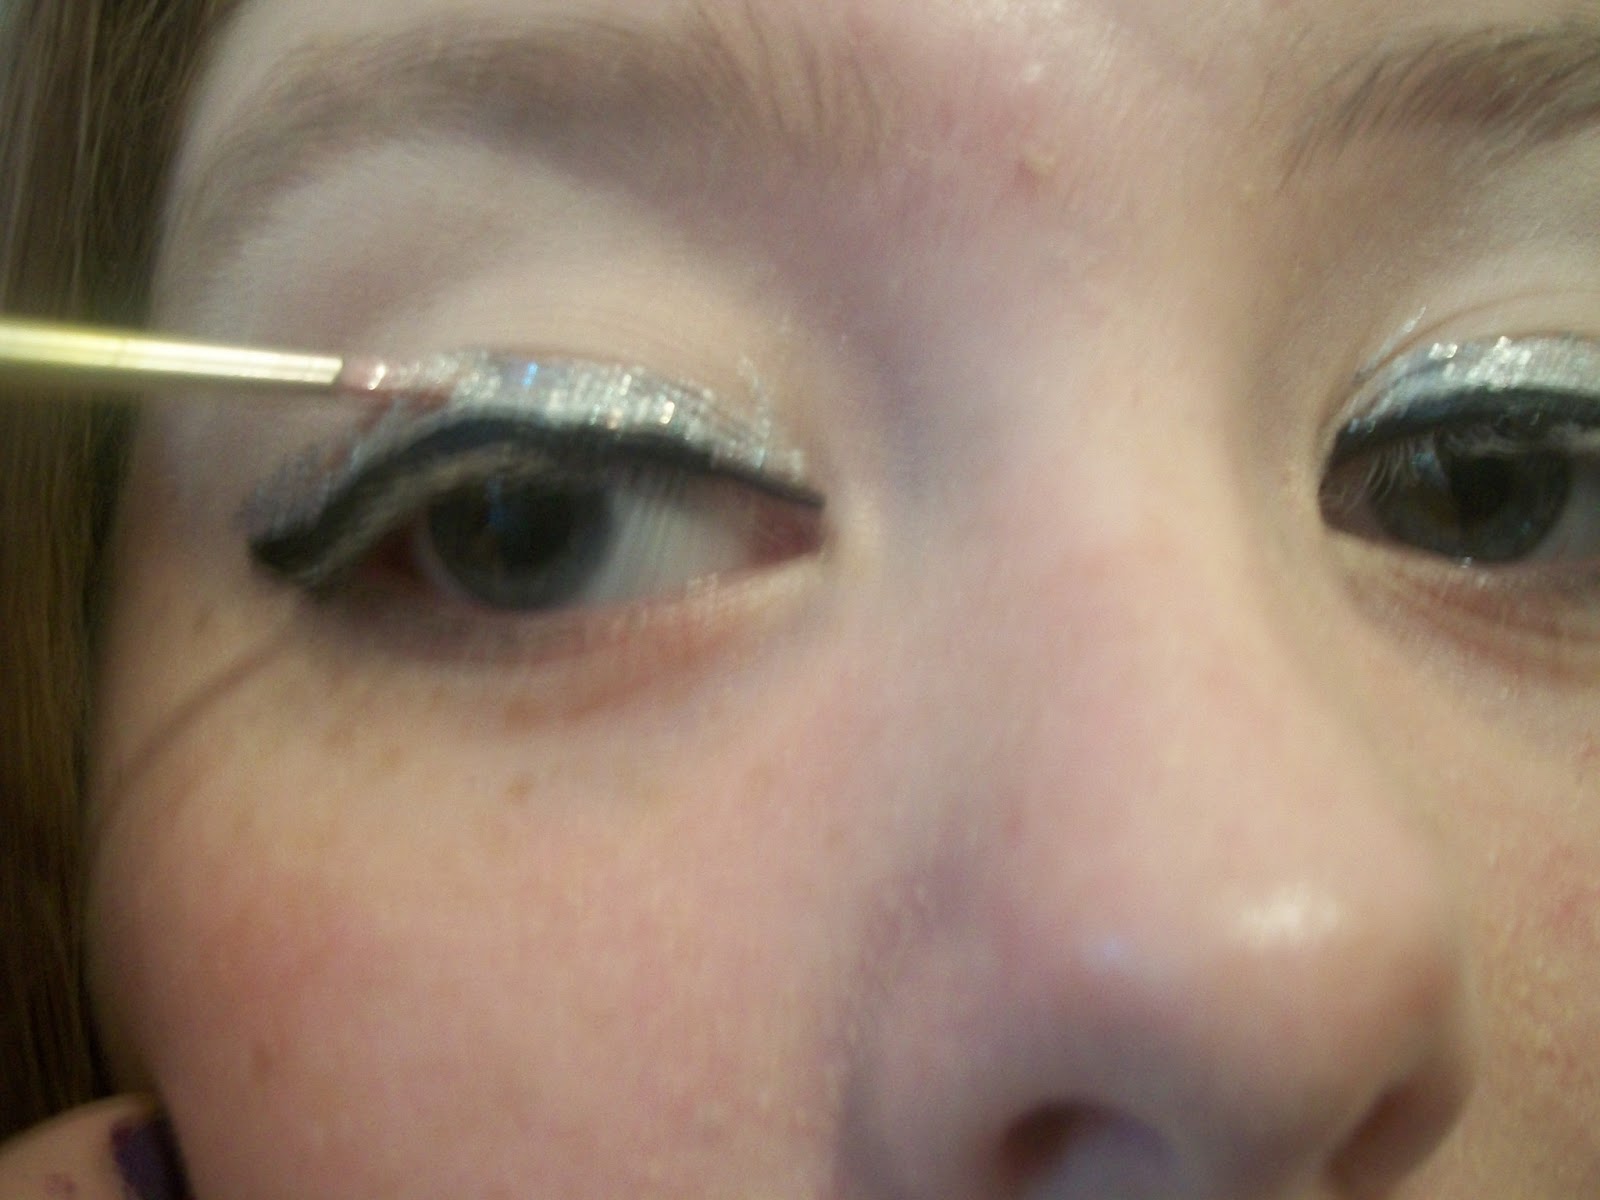
Here are the results. 


I'm not completely sold on the finishing look, but it was different, and I'm all for different. 

On a lighter note, recently I've been obsessed with poring over images of Syd Barrett with Pink Floyd. He's absolutely adorable. Eh, I feel like adorable isn't the right word. Handsome is definitely the better word. 


(From left, Syd with Roger Waters)


(From left, Nick Mason, Rick Wright, Roger, and Syd)


(From Left, Nick, Roger, Syd, and Rick)


(From left, Rick, Syd, Nick, and Roger)

I'm not sure what attracted me to the crazy diamond. In fact, when I first got into Pink Floyd, I thought the man on the Piper at the Gates of Dawn (Pink Floyd's first album and only album they performed with Syd) was David Gilmour. But then I became obsessed. He has a sort of dark look to him. (Mum says I have a thing for crazy people.) He has dark eyes, bordered by thick, long lashes and a curly mess of dark hair. (I KNOW I'm a sucker for dark hair.) His skin is dark and smooth in appearance. He has thick eyebrows and rather thin lips. Prominent cheekbones and a crooked nose. Sure, when I describe him, he doesn't sound all that perfect. But he IS perfect, I am absolutely convinced of this.

Anyways, whether you be obsessed with some genius mad man rocker (who happens to be dead) or some faux-boy from One Direction (probably not dead), don't let someone tell you that you're crazy for loving them.

As for me, I'm just fine with the mad man, thank you.


Saturday, April 27, 2013

Fashion Update: Hot Trends for Spring 2013

For Details, Click Picture Title. You will then be directed to my polyvore where you can find out more information on the individual pieces. 


If the world becomes any more "grunge".... I may have to puke. 

Nail Polish and Other Musings

In the Spring, I am always delighted with the array of nail polish colors that I find in stores everywhere. Whether it be Chanel or Wet N' Wild, nail polish comes in many different colors and gives you the ability to express or to accompany your personal style.

The Friday before Easter Sunday, I walked into Target to look for a makeup shade or perhaps a nail polish color to compliment my Easter garmet. Although my frock was a stunning pleated crimson Jessica Simpson mid-sleeved dress with an orange petticoat-like ruffle at the hem, I had been searching tirelessly (okay, maybe not so much) for the perfect pastel nail color. Luckily, I found two.

The first shade, a pastel (yet, more minty) green by Sally Hansen called (#340) Mint Sorbet.


The second, a magnificent lilac shade, also by Sally Hansen called (#270) Lacey Lilac. 


And although these did not match my dress in any way, I HAD to buy them! They were just too perfect. (I ended up painting my nails red, bleh.)

A couple of weeks before Easter, my mother purchased a similar lilac shade by O.P.I called You're Such a Budapest.


Personally, I found the Lacey Lilac shade as a more pleasing color but the O.P.I formula does wonders for my fragile nails and lasts much longer without a top coat. (Although I would always recommend using one.)

The Sally Hansen colors, I found, usually last a couple of days without *much* chipping if you do not take a shower everyday. However, seeing as that is not the case for me, it chipped around the edges of my nails around the second day of having painted my nails. 

However, the O.P.I polish, I found lasts around four to five days without chipping if you paint your nails with, at least, three coats. I'm sure it would last much longer with a top coat, but I have none at the moment. 

Although, I paint my nails *quite* often and sometimes not-so-long lasting polishes are usually better for me. If, however, you are looking for long wear, I recommend using a good clear top coat and keeping the polish with you for touch ups through-out the week.